Building your own gaming PC is not just a technical task but a creative journey that transforms your gaming experience. In today’s fast-evolving tech landscape, having a custom-built gaming rig tailored precisely to your needs can significantly enhance your gameplay and productivity. This step by step guide to building a gaming PC will empower you with the knowledge to select the perfect components, assemble them with confidence, and optimize your system for maximum performance.
Whether you are a complete beginner or an experienced enthusiast looking to refine your skills, this comprehensive guide covers everything you need to know. From budgeting and choosing components to detailed assembly instructions and troubleshooting tips, you will learn how to build a gaming computer that suits your personal style, budget, and gaming goals. With globalization making hardware access easier and a wealth of online community support, this guide is designed to help gamers worldwide create their ideal PC setup with ease and satisfaction.
By the end of this article, you’ll not only be ready to build a powerful gaming machine but also understand the rationale behind each choice, setting you up for successful upgrades and personalized tweaks in the future. Let’s dive deep into the exciting world of custom gaming PC building, ensuring you get the most value and enjoyment out of each step.
Why Build Your Own Gaming PC?

Before getting your hands dirty, let’s discuss why people take the plunge into DIY PC building instead of buying a pre-built system.
Personalization And Complete Control
When you construct your own rig from the ground up, you choose every component:
- Performance: Prioritize the graphics card, processor, or storage to match your needs.
- Aesthetics: Customize case color, RGB lighting, and cables for a unique look.
- Cooling: Choose the right air or liquid cooling setup for your goals and environment.
- Noise: Silently cool powerful components or pack in extra fans for overclocked systems.
Cost Savings and Value
- Avoid the price bump added by system integrators.
- Reuse or upgrade old parts: Maybe your SSD or power supply is still good.
- High ROI — self-built systems can have a longer lifecycle and are easier to upgrade.
Education and Satisfaction
There’s something uniquely satisfying about pressing power for the first time on a machine you built yourself. You’ll learn hardware basics, troubleshooting, and transferrable tech skills along the way.
Essential Preparations Before You Begin
Before you start with the step by step guide to building a gaming PC, preparation is everything. Taking an organized approach will deliver a smoother and more enjoyable experience.
1. Set Your Goal and Budget
What do you want from your gaming computer? Think about:
- Games: FPS, simulation, strategy, AAA vs. indie.
- Resolution and refresh rate: 1080p/144Hz, 1440p/165Hz, or 4K/60Hz?
- Other uses: Streaming, photo/video editing, 3D modeling, schoolwork.
- Portability: Tower desktop? Small form factor? Need Wi-Fi and Bluetooth?
- Futureproofing: Will you want to upgrade the GPU or CPU in a couple of years?
Action Steps:
- Sketch a rough wish list.
- Rank what matters most: performance, appearance, noise, upgradeability, size.
2. Research Compatible Parts
Compatibility is crucial. Each part must work seamlessly with the others! Use PCPartPicker to:
- Filter for compatible motherboards, CPUs, RAM, and cases.
- Spot power demands and required PSU wattage.
- Avoid incompatible parts—especially sockets and chipsets.
Quick Tips:
- Take note of the latest CPU generations from Intel (Core i-series) and AMD (Ryzen).
- GPUs can be NVIDIA (RTX/GTX families) or AMD (Radeon RX series).
- Choose fast SSDs for loading speed; combine with HDDs for bulk storage.
- Match motherboard form factor (ATX, Micro-ATX, Mini-ITX) to your case size.
3. Gather All Necessary Tools
A successful build relies on having the right tools and setup:
- Phillips #2 screwdriver (magnetized tip helps!)
- Anti-static wrist strap (optional—but minimizes ESD risks)
- Good lighting (a bright lamp or headlamp)
- Workspace: Large, clean surface free of clutter and static
Extras:
- Small bowl for screws and standoffs
- Thermal paste (if your CPU cooler doesn’t include pre-applied paste)
- Zip ties, Velcro straps, or cable combs for neat cable management
- Isopropyl alcohol and lint-free cloth for cleaning
- Smartphone or tablet to reference manuals and guides
Step by Step Guide to Building a Gaming PC
Let’s dig deep into each major phase, ensuring you know why and how for every decision.
Step 1: Planning Your Dream Gaming Setup
Establish a Smart Budget
Gaming PCs can be as budget-friendly or as extravagant as you like. Typically:
- Entry level: $500–$700 — for 1080p gaming on medium settings
- Mainstream: $900–$1200 — for smooth 1080p/1440p high-settings experience
- High-end/4K: $1500+ — for highest settings, VR, content creation, and futureproofing
Balance Your Budget
Spend proportionally more on GPU and CPU for gaming performance. Don’t overspend on RAM or RGB if you need better frame rates!
Example Budget Split:
- GPU: ~30–40%
- CPU: ~20–30%
- Motherboard: ~10–15%
- RAM: ~10–15%
- Storage: ~10–15%
- PSU, Case, Cooler, Accessories: ~10–20%
Step 2: Selecting Components That Work Together
In your step by step guide to building a gaming PC, understanding each part’s purpose is vital.
Processor (CPU): The Brain
A strong CPU is essential—Intel (Core i5/i7/i9) and AMD (Ryzen 5/7/9) are top choices.
Consider:
- Core count/threads (more is better for multitasking and content creation)
- Clock speed (higher = faster for most games)
- Compatibility with your chosen motherboard socket
- Locked vs. unlocked (unlocked models can be overclocked for extra performance)
Graphics Card (GPU): The Heart for Gaming
The biggest performance driver for gaming.
- NVIDIA or AMD: Both offer great options. Current-gen examples: RTX 4060/4070, RX 7600/7900 XT
- Pay attention to VRAM (8GB+ for modern games at 1440p and above)
- Double-check size (length and thickness) to fit your case!
Motherboard: The Foundation
- Form factor: ATX (full size), Micro-ATX, or Mini-ITX.
- Chipset: Dictates features and CPU compatibility (e.g., B550 for AMD, Z790 for Intel).
- Rear I/O: Number/type of USB, M.2, SATA, Wi-Fi, and audio ports.
RAM (Memory): Multitasking Muscle
- Modern games need at least 16GB DDR4 or DDR5 RAM.
- Higher speeds benefit Ryzen CPUs (e.g., 3200MHz+).
- Dual channel (two sticks) provides a significant performance uplift over single stick.
Storage: Speed and Capacity
- NVMe SSDs: Blazing fast; perfect for OS and games (500GB–2TB).
- SATA SSDs: Cheaper, still fast.
- HDDs: Mass storage for videos or backups.
Power Supply (PSU): The Lifeline
- Choose reputable brands (Corsair, Seasonic, EVGA, Cooler Master)
- Minimum 80 PLUS Bronze certification
- Wattage: Use PCPartPicker estimate + 100–150W headroom for upgrades
- Modular/semi-modular for easier cable management
Case: Looks, Cooling, and Fit
- ATX/Micro-ATX/Mini-ITX support.
- Airflow: Mesh panels and internal fan mounts.
- Front I/O: At least two USB 3.0 ports and audio.
- GPU clearance: At least 30–35cm for modern cards.
- Consider tempered glass for aesthetics if you want to show off your build.
CPU Cooler: Stay Cool, Be Quiet
- Stock coolers are OK, but aftermarket (air or AIO liquid) is better for high-performance, overclocking, or quiet running.
- Make sure the cooler fits in your case (RAM and height clearance).
Operating System
- Windows 11 is the gaming standard for DirectX 12 features, game library compatibility, and performance optimizations.
- Linux is viable but may require more setup for games without native support.
Accessories
- Monitor: Match your GPU’s max output (refresh rate/resolution)
- Keyboard & Mouse: Mechanical is preferable for gaming
- Audio: Headset vs. speakers—choose based on your gaming style
- Optional: Webcam, Wi-Fi card, controller for certain game genres
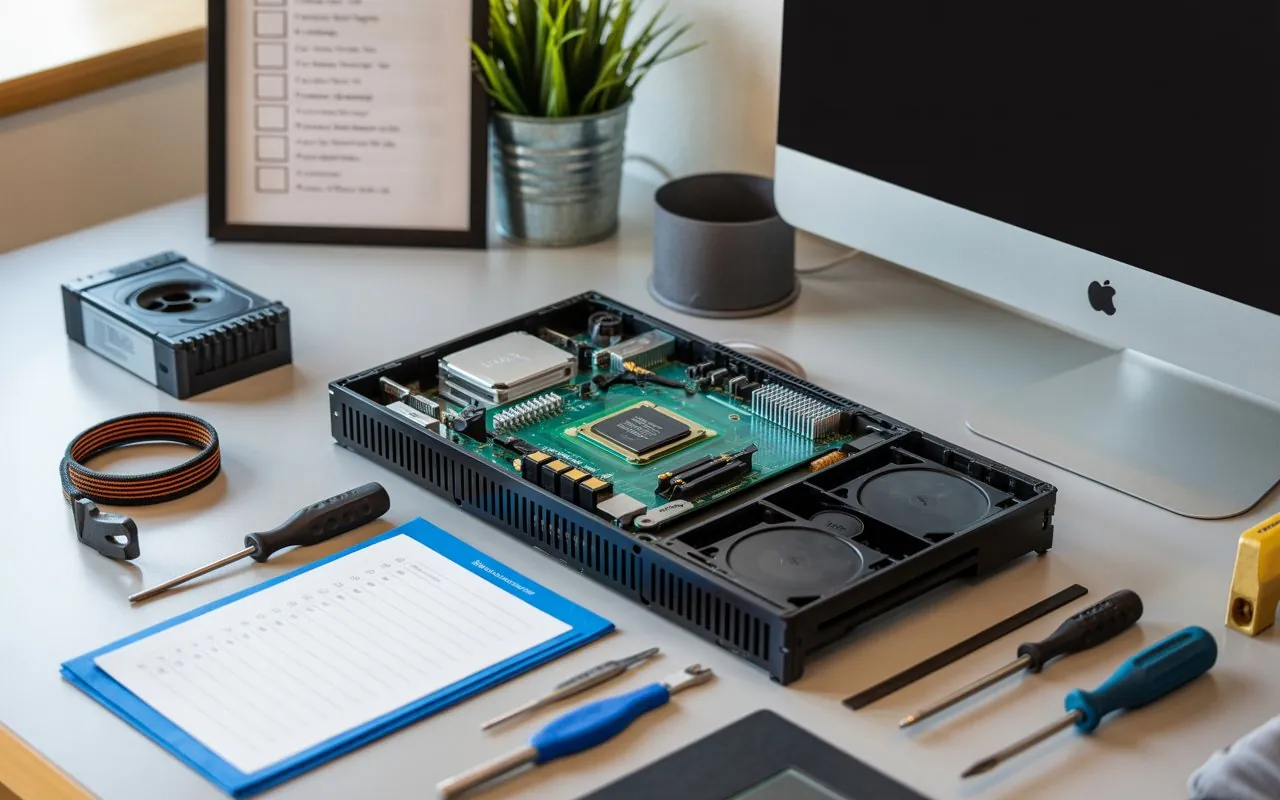
Step 3: Prepare and Organize Your Workspace
Create the Ideal Build Environment
- Spacious, clean surface away from pets and drinks
- Non-carpeted area to reduce static build-up (wooden/laminate floor is best)
- Good lighting and a place to kneel or sit comfortably for a few hours
Pre-Build Checklist
- Unpack all boxes and check for included accessories (screws, cables)
- Read your motherboard manual—mark the page showing header/connector locations
- Place small screws and tools in a tray or small bowl to avoid losing them
- Grab your phone/tablet for referencing online guides and videos in real time
Safety
- Discharge static before touching components
- Ground yourself periodically by touching a metal part of your PSU or case
- Keep all parts in anti-static bags until needed
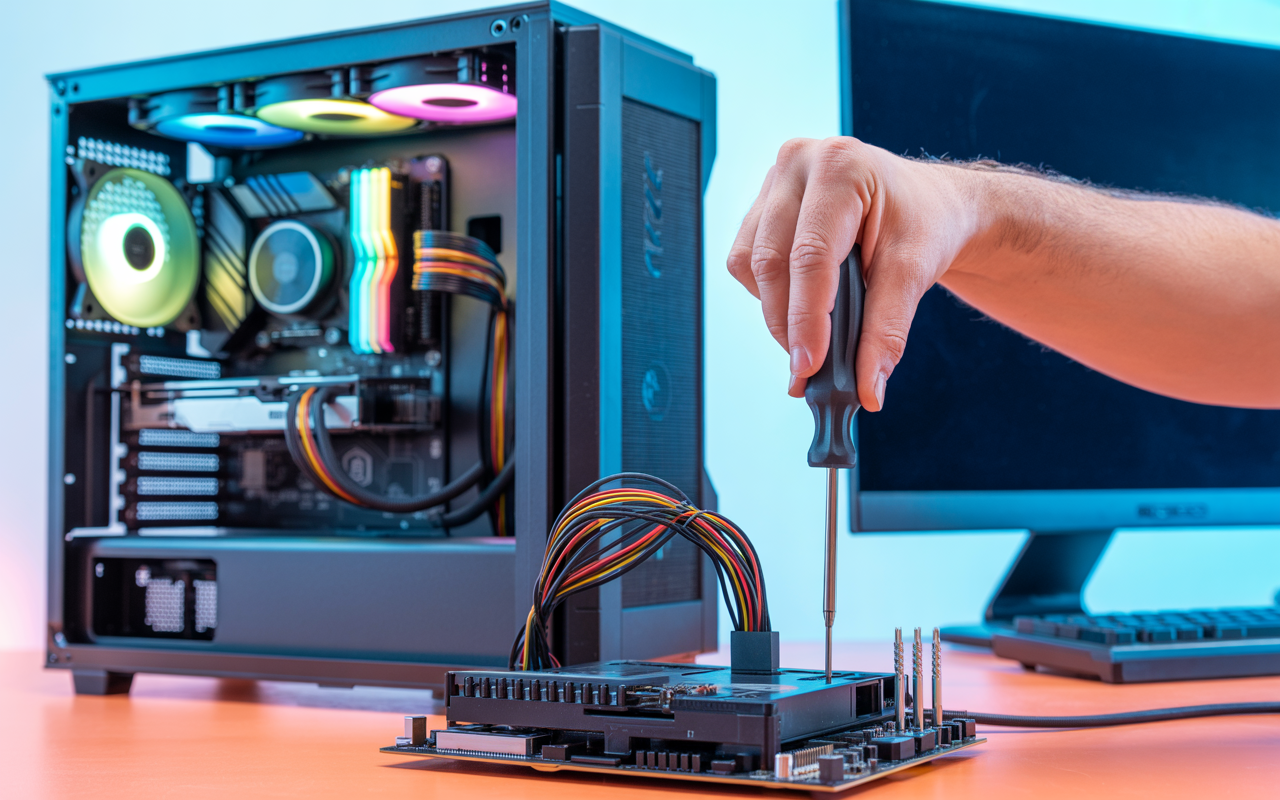
Step 4: The Detailed Assembly Process
Now it’s time to bring your system to life. Here’s how to build a gaming PC, step by detailed step.
Install CPU, RAM, and M.2 Storage on the Motherboard (Outside the Case)
Why do this first? It’s much easier than when the motherboard is already in the case!
- CPU Installation
- Open CPU socket (lift lever for Intel or rotate for AMD)
- Align CPU notch with the socket—never force it!
- Gently lower into place; secure with lever
- Apply Thermal Paste: (Only if your cooler requires it)
- A small pea-sized amount in the center of the CPU is perfect
- Cooler Installation
- For stock coolers: Align retention bracket, screw down in a cross pattern
- For aftermarket: Follow included guide (may need custom brackets; some use backplates)
- Plug cooler’s fan cable into CPU_FAN header on the motherboard
- RAM Sticks
- Unlock both ends of the DIMM slots (or check manual if your board only unlocks one end)
- Press firmly until you hear/feel a click
- Use recommended slots for 2 sticks; usually slot 2 & 4 from the CPU side
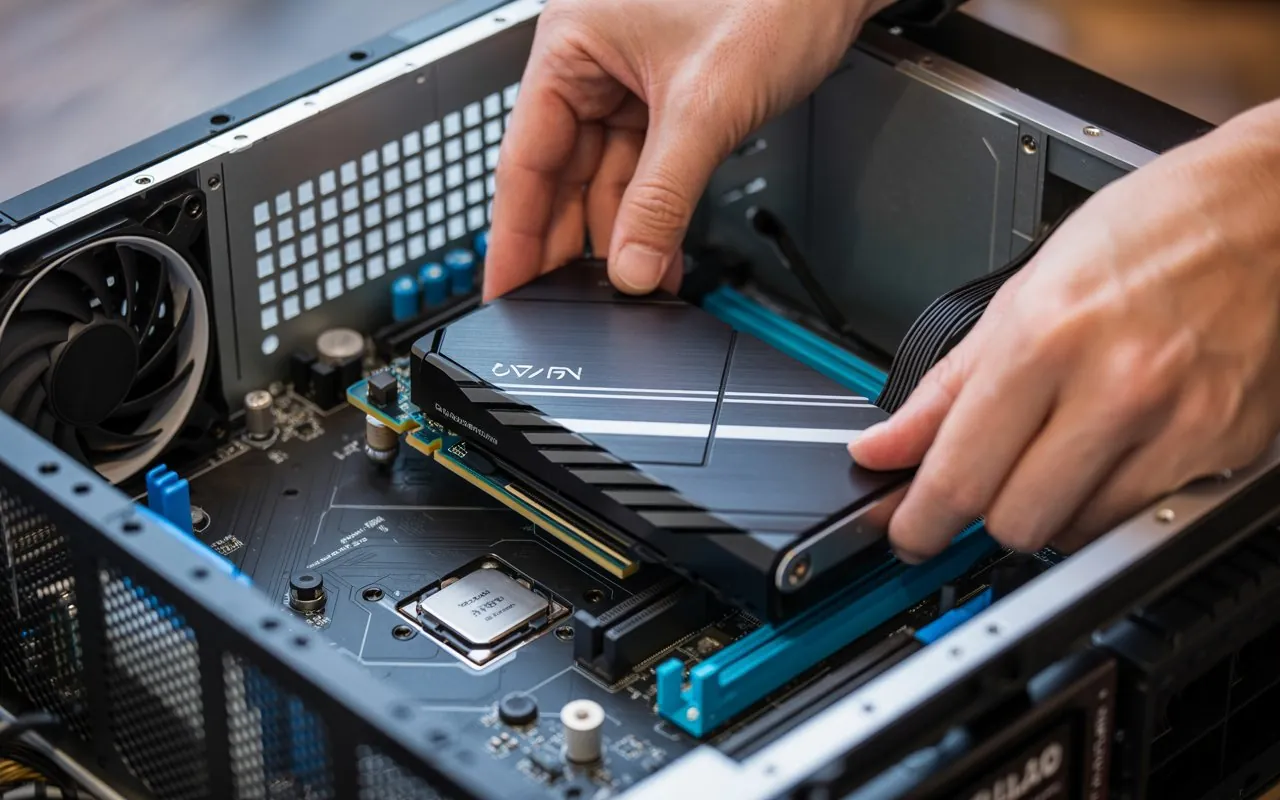
- NVMe M.2 SSD
- Remove M.2 slot screw, insert M.2 at angle, gently press flat, secure with supplied screw
Prepare the PC Case
- Remove both side panels and front/top panels if possible
- Install I/O shield into the rear of the case (if your motherboard doesn’t have a pre-installed shield)
- Place motherboard standoffs in the correct locations (refer to your case diagram)
- Confirm stand-offs align with motherboard holes to prevent short circuits
Motherboard Installation
- Place motherboard gently on standoffs
- Secure with screws—do not overtighten
- Connect front-panel IO cables (USB, power switch, reset, audio)
Refer to motherboard manual diagrams for pinouts; these can be fiddly
PSU and Cable Management
- Orientate PSU so its fan gets fresh air (from bottom or rear, not blocked by carpet)
- Screw into case, route main 24-pin ATX and 8/4-pin CPU power cables behind motherboard tray if possible
- Modular PSUs: Connect only the cables you need to reduce clutter
Storage and Graphics Card
- Mount SATA SSDs/HDDs in drive cages, connect with SATA cables to motherboard and power cables from PSU
- For GPU: Remove correct expansion slot covers, align GPU with top PCIe x16 slot, push firmly until the latch engages, screw down securely
- Connect GPU PCIe power cables as needed (6-pin/8-pin)
Extra Cooling (Case Fans and AIO/Water Cooling)
- Mount additional fans for airflow (intake in front/bottom, exhaust top/rear)
- For AIO coolers, follow manufacturer installation (may involve bracket or radiator mounting)
- Plug all fans into motherboard headers (system or chassis fan headers)
Cable Management
Take your time here!
- Use cable cutouts/grommets to hide wires behind the motherboard tray
- Group and tie excess cable slack with zip ties or Velcro straps
- Neat cables improve cooling and make future upgrades/repairs much easier
Step 5: First Boot and BIOS Setup
- Connect monitor, keyboard, and mouse
- Plug in power and turn on PSU switch at the back
- Press the case power button—your PC should spin up, and fans/lights should come on
- If no POST (no signal to monitor), check all power cables, GPU/RAM seating, and test again
Enter the BIOS
- Hit DEL, F2, or F12 (see motherboard boot splash screen)
- Check that CPU and RAM are detected correctly
- Set boot priority to your USB drive (with Windows/Linux installer on it)
- Enable XMP/DOCP memory profiles for RAM (for rated speed)
- Make any needed changes for fan control or cooling profiles
- Save and exit
Step 6: Installing Your Operating System and Drivers
Windows 10/11 Installation:
- Insert bootable USB with Windows installer (use Microsoft’s free Media Creation Tool to make one)
- Select SSD as install destination; delete any partitions if necessary
- Let OS installation complete—follow prompts to set up region, keyboard, account
- Once in Windows, connect to the Internet for automatic driver downloads
Linux Installation:
- Boot from installer USB, choose primary SSD as install partition, follow GUI instructions
- Popular gamer-friendly distros: Pop!_OS, Ubuntu, Manjaro
Driver Installation for Performance
- Chipset drivers: Download from motherboard vendor’s website
- GPU drivers: Head to NVIDIA or AMD’s website for the latest drivers
- Optional: Audio, Wi-Fi, RGB controller drivers as required
System Updates
- Run Windows/OS updates to patch bugs and improve security/performance
- Install essential software: web browser, Steam/Epic launcher, OBS (streaming), Discord, etc.
Stress Testing and Benchmarking
- Use HWMonitor or CoreTemp to monitor system temps
- Run 3DMark, Cinebench, or Unigine Heaven to benchmark CPU & GPU
- Play your favorite game and check for smooth performance, stability, and temps below 85°C
Step 7: Troubleshooting and Fine-Tuning
It’s normal to run into minor issues as a new builder. Here’s how to handle the most common ones:
System Won’t Power On:
- Check PSU switch, wall socket, and motherboard power connectors
- Reseat RAM and GPU
- Make sure case power switch cable is on correct header
No Display, But PC Fans Spin:
- Verify GPU is seated securely
- Reseat RAM and try different DIMM slots
- Try using motherboard display output (if your CPU has integrated graphics)
- Clear CMOS (reset BIOS settings with jumper or battery removal)
Unexpected Reboots or Lockups:
- Double-check PSU wattage and power connections
- Monitor CPU and GPU temperatures for overheating
- Reseat cooler and reapply thermal paste if necessary
Loud Noise or High Heat:
- Check all fans for obstructions or incorrect mounting
- Re-route cables to prevent airflow blockages
- Clean any dust from air intakes or radiator
Upgrades Won’t Work:
- Check component compatibility (BIOS version, supported RAM speed, GPU clearance)
- Look up QVL lists (Qualified Vendor List) from motherboard vendors for verified RAM kits
Pro Tips for Smooth PC Building

- Watch build videos on YouTube before starting (Linus Tech Tips, JayzTwoCents, Gamers Nexus)
- Don’t force anything—components should snap or slide in with gentle pressure
- Keep your parts’ boxes for warranty service or resale
- Take photos at each step for your own documentation or help requests
- Join forums like r/buildapc, Tom’s Hardware, or manufacturer support for troubleshooting
- Don’t forget to back up data before major BIOS changes or OS reinstalls
Frequently Asked Questions (FAQs)
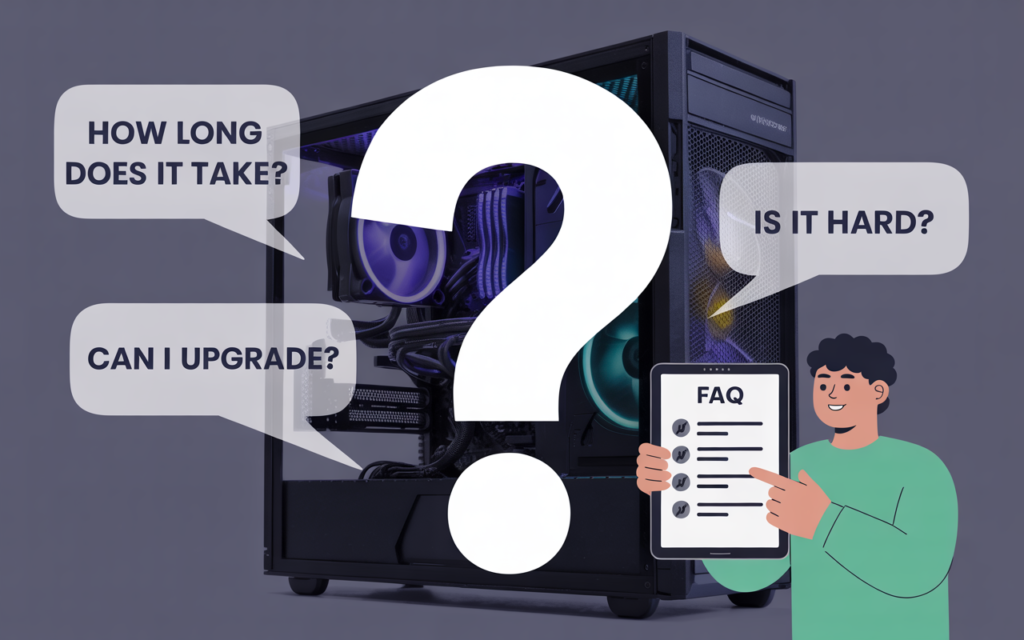
Is it hard to build a gaming PC as a beginner?
No! With a methodical approach and clear instructions (like this step by step guide to building a gaming PC), anyone with patience and care can do it. The process is logical and rewarding.
How long does the process take?
For a first-timer, plan for 4–6 hours including installation, troubleshooting, OS setup, and updates. With experience, you can assemble basic systems in under two hours!
How do I avoid breaking my new components?
Handle parts by their edges, keep work area static-safe, and don’t overtighten screws. Double-check all connections before powering on.
Can I upgrade easily later?
Absolutely. That’s one of the main reasons people follow a step by step guide to building a gaming PC—you can swap in a new GPU, more RAM, or faster SSDs whenever you like.
Will my new PC work with my old monitor and peripherals?
Almost certainly yes—just be sure your graphics card has compatible outputs (HDMI, DisplayPort, etc.). USB peripherals like mouse and keyboard always work.
Level-Up: Personalize Your Build
- RGB Lighting: Create custom effects with LED strips, fans, and motherboard-controlled software
- Custom Sleeved Cables: Add style and airflow with colored cables
- Tempered Glass Panels: Showcase your finished masterpiece
- Vertical GPU Mounts: Useful for both aesthetics and airflow in some cases
- Fan Controllers: Dial in your preferred noise/performance balance with physical or digital controls
conclusion
Congratulations! You’ve reached the end of this ultimate, step by step guide to building a gaming pc. Now, you truly understand not just how to assemble a high-performance gaming machine, but why each decision matters and what goes into making it uniquely yours. As you boot up and install your favorite games, take pride in every detail — from the click of the power button to the smooth frame rates and fast load times. PC building is more than assembly—it’s expression, experience, creativity, and future-proofing all at once. Welcome to the global community of custom PC builders! If you get stuck, remember: there are thousands of supportive communities and resources online ready to help. Don’t hesitate to share your build, ask questions, or help the next first-timer on their own gaming PC adventure.
Now get gaming, and enjoy the world you built, step by step.